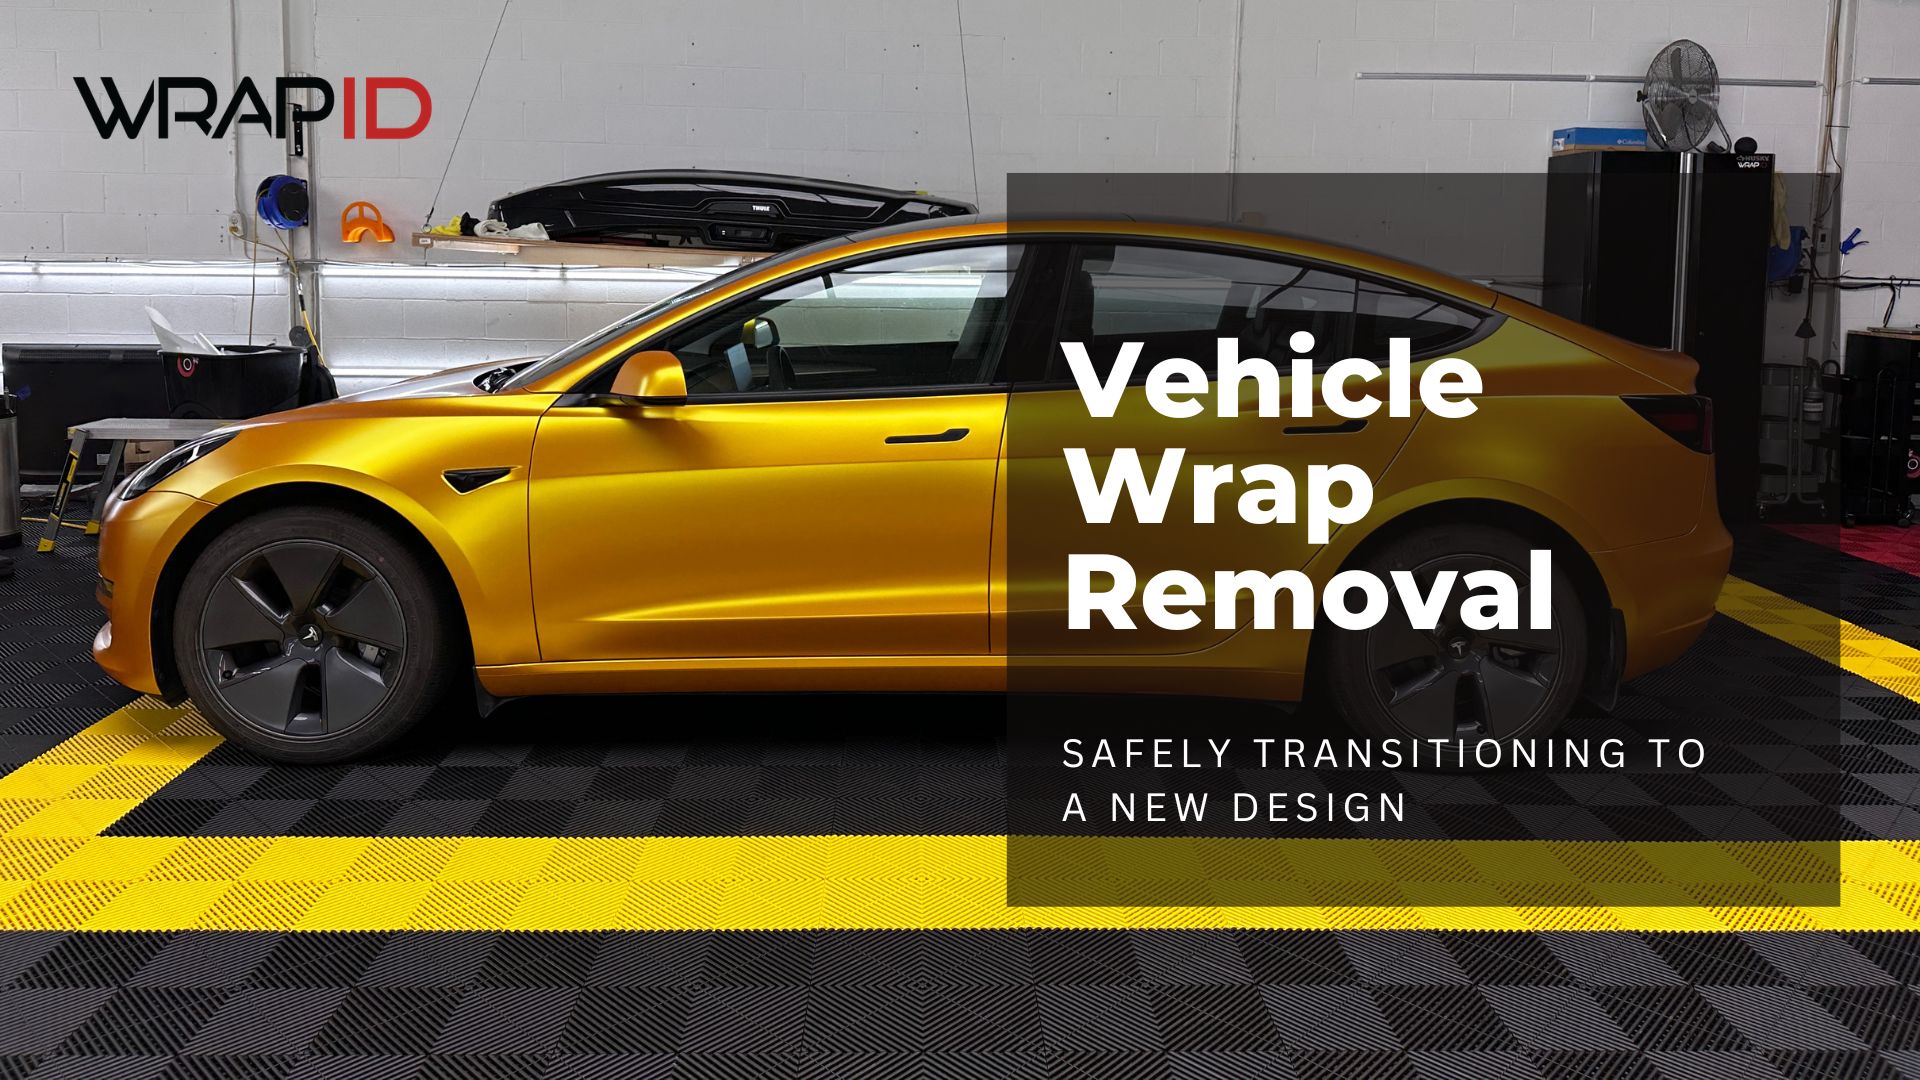
Vehicle wraps have become an increasingly popular choice for businesses and individuals looking to make a statement on the road. They offer a creative and attention-grabbing way to transform the appearance of a vehicle, promote a brand, or express personal style. However, like all good things, even vehicle wraps have a lifespan. When it’s time for a new design or to revert to the vehicle’s original finish, the removal process becomes a crucial step. In this article, we’ll explore the ins and outs of vehicle wrap removal, focusing on the importance of doing it safely and effectively.
Understanding the Lifespan of Vehicle Wraps
Vehicle wraps are designed to be durable and long-lasting. On average, a high-quality vehicle wrap can last between 3 to 5 years or more, depending on various factors such as:
- Maintenance: Proper care and maintenance, including regular cleaning and protection from the elements, can extend the life of a wrap.
- Quality of Materials: The type and quality of the vinyl used in the wrap play a significant role in how long it lasts.
- Exposure to the Elements: Vehicles that are frequently exposed to harsh weather conditions, UV rays, and road debris may experience wear and tear more quickly.
- Installation Quality: The skill and expertise of the installer also affect the wrap’s longevity.
After this period, it’s common for vehicle owners to either remove the wrap or replace it with a new design. Vehicle wrap removal is a multi-step process that requires careful attention to detail to avoid damage to the vehicle’s paint and ensure a smooth transition.
Why Remove a Vehicle Wrap?
There are several reasons why you might consider removing a vehicle wrap:
- Rebranding: Businesses may want to update their branding, which often includes changing the design of their vehicle wraps.
- Resale or Lease Return: If you’re planning to sell your vehicle or return it at the end of a lease, removing the wrap is typically required to restore the vehicle’s original appearance.
- Change of Style: Personal vehicle owners may wish to change the look of their vehicle or experiment with a new design.
- Wear and Tear: Over time, wraps can experience wear and tear, including fading, peeling, or damage. Removing the old wrap allows for the installation of a fresh one.
The Vehicle Wrap Removal Process
Vehicle wrap removal should be performed with precision to protect the underlying paint and ensure a clean surface for the next design. Here’s a step-by-step overview of the removal process:
- Assessment: Begin by inspecting the condition of the wrap. Look for any signs of damage, such as peeling edges or areas where the vinyl has become brittle. These areas may require special attention.
- Heat Application: Heat is used to soften the adhesive of the wrap. A heat gun or infrared heater is typically employed for this purpose. Applying controlled heat makes the vinyl more pliable, allowing for easier removal.
- Edge Lifting: Carefully lift an edge or corner of the wrap using a plastic pry tool or your fingers. It’s essential to avoid using sharp or metallic objects that could damage the paint.
- Slow and Steady Removal: As the vinyl becomes pliable, continue to gently lift and peel it off at a 90-degree angle. Be patient, as rushing this step can lead to adhesive residue left on the vehicle’s surface.
- Adhesive Residue Removal: After removing the wrap, there may still be adhesive residue left behind. Use an adhesive remover or isopropyl alcohol to clean the surface. Ensure you follow the product’s instructions and test it in a small, inconspicuous area first.
- Final Cleaning: Once all adhesive residue is gone, thoroughly clean the vehicle’s surface with a gentle car wash soap and water to remove any remaining residue from the adhesive remover or alcohol.
- Inspection and Touch-Up: After cleaning, inspect the vehicle’s paint to ensure there is no damage. In some cases, minor touch-ups may be necessary, especially if the vehicle had existing imperfections prior to the wrap installation.
- New Wrap Installation (if applicable): If you’re replacing the old wrap with a new design, this is the ideal time for the new installation. Make sure the surface is completely clean and dry before proceeding.
Benefits of Professional Vehicle Wrap Removal
While some vehicle owners may attempt wrap removal as a DIY project, it’s often recommended to seek professional assistance, especially if you have limited experience. Here are some of the advantages of professional removal:
- Expertise: Professionals have experience and expertise in safely removing wraps without causing damage to the vehicle’s paint.
- Tools and Equipment: They have access to the proper tools, such as heat guns and adhesive removers, which can make the process more efficient.
- Quality Assurance: Professionals can provide assurance that the vehicle is thoroughly cleaned and ready for a new wrap installation, if desired.
- Time Savings: Professional removal tends to be faster, saving you time and minimizing the risk of errors.
- Warranty Protection: In some cases, professionals may offer warranties or guarantees on the removal process, giving you peace of mind.
Let’s Wrap It Up
Vehicle wrap removal is a necessary step when transitioning to a new design, rebranding, or returning a leased vehicle. Proper removal is crucial to ensure the safety of the underlying paint and a smooth surface for the next wrap or for the vehicle’s original appearance. While some vehicle owners may attempt DIY removal, professional assistance is often the best way to achieve a safe and seamless transition. When done right, vehicle wrap removal can be a bridge to exciting new possibilities in design and style for your vehicle.